How to Pack Your Hiking Backpack
Photo Credit: Laura Chouette
When packed efficiently, your hiking bag can swallow an impressive amount of gear. But what goes where? There’s no right or wrong answer. To start, lay out all your camping gear and equipment and try out different loading methods until you find one that works best for you. If you’re camping for more than one night, a checklist can be helpful for staying organized. You can also reevaluate your notes post-hike and see what worked well or poorly. A well-loaded pack will feel balanced and the weight should distribute evenly across your shoulders and hips. In this article, you will learn basic packing tips as well as gear recommendations.
So how do you break down packing your bag? Your pack can be broken down into 3 parts:
-
Bottom Zone
-
Middle/Core Zone
-
Top Zone
The bottom zone of your pack is where you’ll store bulkier items that you won’t need to access until camp. If you find yourself constantly needing a specific piece of clothing or gear, don’t place it in the bottom of your bag as you’ll have to unpack while you’re hiking. Pacific First Aid offers a variety of camping equipment perfect for overnighters. The portable tent pad, with its 3 easy-to-fold sections that help with packing, and the multi-layer reflective tent are two great options for hiking. They can both sit at the bottom of your pack and help distribute weight. Any gear that’s squishy and soft is best at the bottom as it creates an internal-shock absorption for your pack and back.
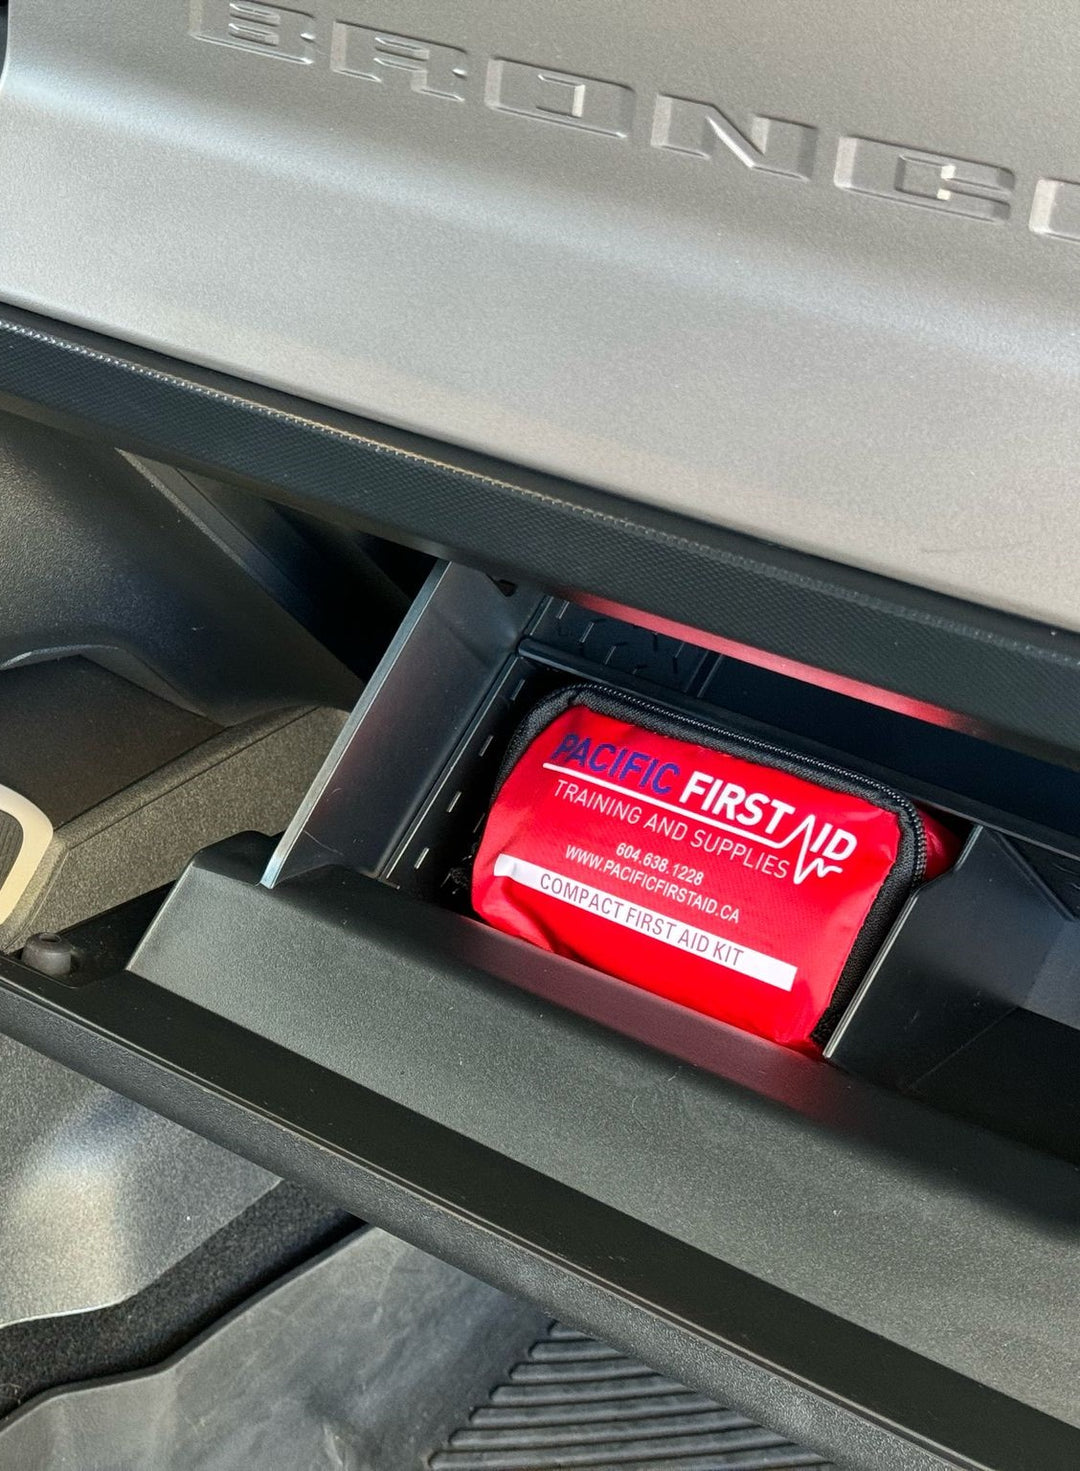
The mid-layer is great for heavy and dense gear. This includes items you won’t need access to during your hike. Packing heavy items here will create a stable centre of gravity and direct the load downwards. If heavy items are placed at the bottom, your pack will drag and if placed at the top, you’ll tip forward. You can place your outdoor first aid kit, stove, water reservoir and fire starter kit in this section. To prevent shifting, you can also wrap harder items in pieces of clothing.
Next up is the top-of-pack items. This part is essential for anything you may need to grab quickly. This includes an extra fleece, puffer jacket, extra water, snacks, headlamp and smaller first aid supplies (bandaids, ibuprofen, bandages). Depending on which pack you have, you’ll often find extra pockets and straps on the sides which are great for accessory items. You can store your sunscreen, lip balm, snacks and bug spray in these pockets as your grab-and-go gear.
Now that you’re all packed, all you have to do is hoist you pack onto your back. A common mistake made by beginners is grabbing the shoulder straps. Not only can this wear down the straps, the weight can potentially hurt your back. It’s best to loosen all of the straps slightly and tilt your pack in an upright position on the ground. Next, you’ll stand next to the back panel and have your knees bent. Grab the haul loop and lift the pack up to your thigh and slip your arm through one of the shoulder straps. Having a pack that fits you properly and that’s stuffed with good-quality gear will keep you and your hiking party safe. Not only will you prevent future back injuries, but having first aid supplies and proper equipment will keep you safe should anything happen. With this setup, you’ll officially be ready to hit the trails and use your new gear from Pacific First Aid.


